Thursday, March 31, 2011

Spring Decoupaged Eggs


Hey there! It's good to be back. Since the sick kids are finally back to school and baby is napping, it's time for mama to play. This is the time of day I so look forward to...take a little time to get done what absolutely needs to be done and take a lotta time to do what I feel like doing. So I've been working with Mod Podge for a few days and am excited to show what I've been up to. I have honestly never used Mod Podge before. So after spending some time at modpodgerocksblog.com, I felt ready to begin.

I rummaged through our scrap wood box in the basement and found just enough MDF (medium-density fiberboard) to cut out some eggs. My daughter had an Easter egg-shaped book laying around that I used to trace out some egg shapes. 


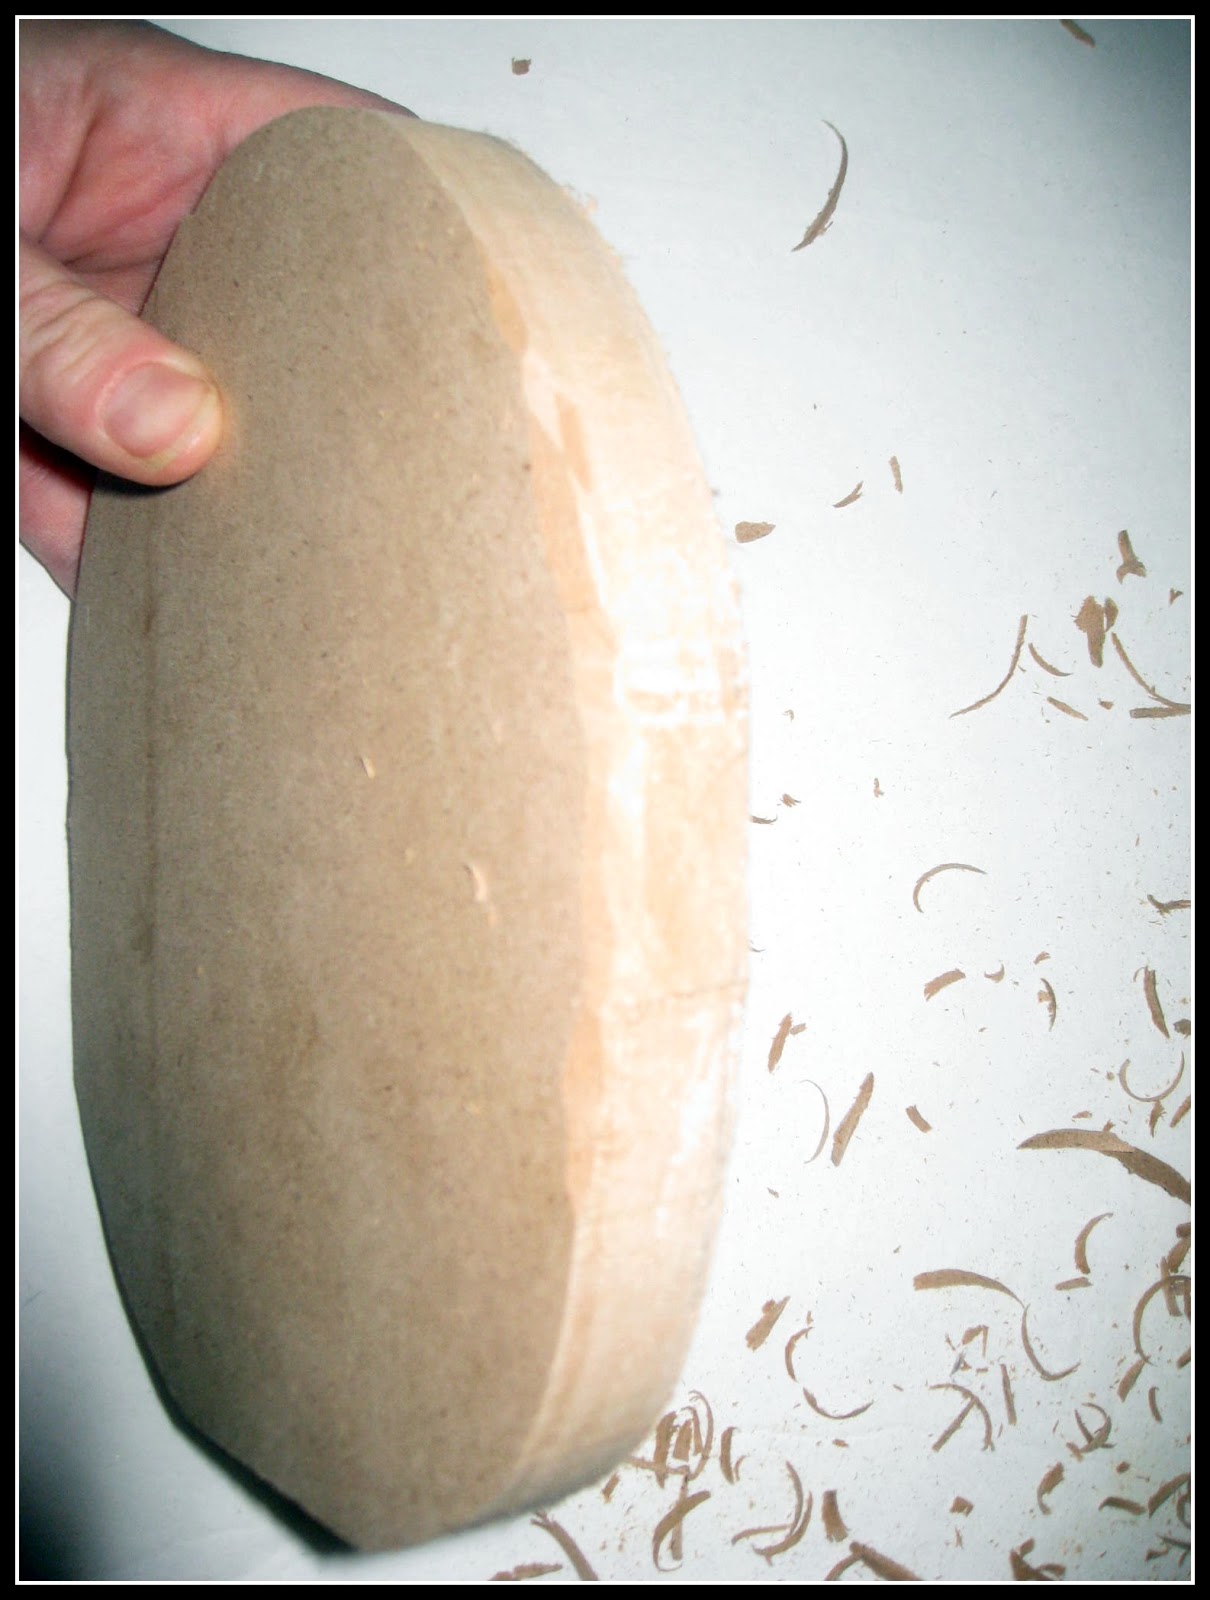
I used a reciprocating saw to cut my eggs.

Even though I wasn't exactly sure what my plan was for the eggs, I knew I wanted them to look 3-dimensional and not flat. I used a cheap retracting utility knife to start chipping and scraping out chunks of fiberboard along the front and back edges of the eggs. This was probably the most time consuming part of this project. I set a waste bucket in front of me and carved away while watching Dancing with the Stars. Multitasking at its finest! In my photo you can see where I have chiseled away at the edge... nd where I haven't. There is a big potential for injury while using a knife here so please be careful.


Once you get both front and back edges of an egg chiseled and ready to go, you need to seal the edges so that paint will properly adhere to the MDF. (I tried to prime then paint the egg and it didn't work, as the paint never was able to stick to the egg on the sides). So, grab a paint brush and put that Mod Podge to work. One of its functions is to work as a sealer. Spread a medium coat of Mod Podge around the edges of the egg. I then set mine to dry on a sheet of wax paper to keep the egg from sticking. The Mod Podge dried pretty quick so I took my eggs outside to spray paint them heirloom white. It took 2 or 3 coats to get the sides well covered. Do not waste your time spraying the center of the front and backs of the eggs. These will eventually be decoupaged with scrapbook paper.


Now it's time to prepare your scrapbook paper to be decoupaged onto your egg(s). I absolutely love, love, love my paper with the birds on it. Colors are awesome and it just looks fun and spring-y to me.


Use your eggs to trace their shape onto the backside of the scrapbook paper.


Grab your scissors and cut out your paper egg. Cut towards the inside edge of your egg - maybe about 1/3" or so. Because you chiseled the edge of your MDF egg, you don't need your paper egg as wide as the entire egg.  Do any trimming to the paper - you do not want any of the paper covering the edge that is chiseled. The paper should only sit on the flat front part of the egg and not wrap onto the side parts that are chiseled.

Once your paper it trimmed up, pull it off of the MDF egg. Using your paintbrush, smooth on a medium coat of Mod Podge on the front section of the egg where you want your paper to stick. Work quickly because Mod Podge dries quickly. Pick up your paper egg and mist the back of it with a spray bottle. Then lay the paper on the wet Mod Podge on your MDF egg.


Now you need to use a brayer to roll out the bubbles in between the paper and MDF egg. I don't own a brayer so I used a small lightweight plastic rolling pin. It worked just fine and actually did push out the bubbles in the paper allowing it to dry flat.The brayer (or rolling pin) also pushed out excess Mod Podge. Simply use your brush to spread the excess around the edges of your paper and MDF egg. If you notice that any of your edges aren't drying flat on your egg, lift the paper, trim a bit of paper, use your paintbrush to spread a bit of Mod Podge under the edge, lay the paper down and smooth out.


Once the paper is dry it is time to spread a medium layer of Mod Podge over the top of the paper. Use your paintbrush and work quickly just like before. I chose to decoupage both sides of my eggs. So once one side is complete, flip over and start the process over.


How much fun are these? Go make yours. Seriously. Then meet me back here tomorrow and check out what I did with mine.

I appreciate my followers. If you appreciate my projects, share my blog with a friend (or two). There is a a button on the right sidebar that allows you to share with a friend or even share with all of your friends on Facebook. If I woke up tomorrow and had a bunch of new followers, it would just make my day!


This project is linked to Show and Tell Saturdays at Be Different Act Normal and Funky Junk's Saturday Nite Special.


Funky Junk's Sat Nite Special


Wednesday, March 23, 2011

Fabulous Reversible Headband

Looking for an inexpensive, fun, quick and easy project? I've got one for you. It's a fabulous reversible headband.


You need two coordinating ribbons. I chose 1 1/2" wide grosgrain ribbon that I purchased at Hobby Lobby. Quite often they run their ribbon by the roll at half off. You can use ribbon as small as 1/2" wide and as big as 2" wide. 1 1/2" is a great size for children and adults.


You will also need coordinating thread, a sewing machine and some elastic. You can use the plain white apparel elastic found at craft stores - it works just fine. I chose to use some thin elastic headband and ponytail elastic that I had left over from a previous project. The bright colors will look great with my ribbon.


Grab a pair of sharp scissors. It is now time to cut the ribbon. To make a headband for a toddler or small child, measure the ribbon to 15 inches. For an 8 year old up to adult, measure the lengths of ribbon to 17 inches. Cut both pieces of coordinating ribbon. I am making my headband for an adult.


Keep those super sharp scissors handy. Grab your elastic. For a toddler or small child, measure out 3 inches of elastic. For a child about 8 or older up to an adult, measure out 3 1/2 inches of elastic. If your elastic has the metal clip that holds the two ends of the elastic together, cut that out. It is unusable.


Time to turn on your iron to the "synthetic" or "polyester" setting. Turn down the short, raw edge of your ribbon down about 1/4" and press. Do with both pieces of one end of the ribbon.


Match up the ends.


Pin the ribbon in place. Pins should be near the edge of the ribbon and not towards the middle. Do this for only one side of the ribbon. Then go back and press down with the iron the raw edges on the other end of the ribbon. Make sure to match up their lengths and pin in place.


Between both layers of ribbon and between the pins there is a "tunnel". This is the space where you will insert your elastic. Pin elastic in place. Do this on only one end of the ribbon. We will get to the other end later on.


 Now you are ready to sew.


Start sewing on the edge of the ribbon where your elastic is inserted. Don't forget to backstitch so your stitches don't unravel. Sew a straight stitch about 1/4" from the edge. You may have to help ease the ribbon and elastic under the sewing machine - it is pretty thick to sew through. When the entire side is sewn, lift your presser foot and turn the corner. Sew down the length of ribbon and backstitch when you get to the end. Clip your thread.

Now insert your elastic into the unsewn raw end of ribbon in the "tunnel", just as you did for the other end. Pin in place.


Straight stitch edge of ribbon where you just inserted your elastic, remembering to backstitch.


Lift your presser foot and turn the corner. Finish up by stitching the last unfinished edge of ribbon. Backstitch at the end and clip all threads. Voila! Almost instant gratification. This headband took me about 12 minutes. It might take a beginner about 30 minutes, max, just figuring out the instructions.


Please take a second to leave a comment if you took a moment to stop by.  You can do so right below this post. If you make a headband (or two or three), I'd really love to see it! Post one of your photos for me to admire your work. My peanut loves her headband. Thanks for spending time with my Bucket of Buttons.


My Fabulous Reversible Headband was featured at:


My Fabulous Reversible Headband is being linked up at Creative Share Wednesday AT THE TRENDY TREEHOUSE and Wednesday's Show and Tell Link Party at Blue Cricket Design. Check it out! The headband can also be found on the Sunday Showcase Party at Under the Table and Dreaming and Made by You Mondays at Skip To My Lou.


CreativeShareWednesdays


UndertheTableandDreaming

Thursday, March 17, 2011

Ribbon-covered clippie

 May God grant you always...A sunbeam to to warm you, a moonbeam to charm you, a sheltering Angel so nothing can harm you. Laughter to cheer you. Faithful friends near you. And whenever you pray, Heaven to hear you.
-Irish Blessing


Today's post is serving several purposes...a request from a friend is being taken care of, it's a very basic and non- time intensive project and a little teeny shout out to St. Patrick.  Let's make ribbon-covered clippies.

 The supply list includes ribbon (I prefer grosgrain - the kind with raised lines in it). Your ribbon shouldn't be wider than 1/2" when making clippies.

Also on the supply list is Fabri-Tac (or a hot glue gun). A little side note...Fabri-Tac costs about $12.99 for the big bottle at Jo-Ann's and $10.99 at Michael's. This is a great item to use your 40% or 50% off coupon on. While it is expensive glue, it is the only glue I trust to glue fabric...and... I've tried them all. You only need the large bottle if you'll be making tons of clippies. This glue doesn't store well over long periods of time so don't buy the larger bottle thinking you will then have it on hand when you need it the next time. It does thicken up and get difficult to use.


Lastly you need single prong alligator clips. The single prong clip is on the right. (The clip on the left is a double prong alligator clip).


I purchase my clips at Sally Beauty Supply. They carry a box of 100 clips for about $5.65 a box. Yes, that works out to less than $0.06 per clip.


Alrighty then, let's get started. Remember the directions will make a lot more sense if you have a clip in your hands and you can manipulate it while you go through tutorial. Take your ribbon and spread on some Fabri-Tac on the side you don't want to show (also known as the wrong side). You can use hot glue but I personally find it a little bit more difficult to control how much glue you use. Hot glue is a little bit messier when doing small projects and dries too quick. If you only have a glue gun on hand, give it a try, just be really careful.


You want the glue thin and not too close to the edges (otherwise it oozes out a makes a mess). I do about 2 inches of ribbon at a time. Open up your alligator clip and slide in the gluey ribbon all the way in.


Press down lightly. Wrap the ribbon around the front part of the point of the clip. Then spread about 2 more inches of glue very thin and press the ribbon to the other side of the clip.


Now you can pinch both layers of ribbon together. Make sure the edges are lined up.


Next wrap the ribbon over the part of the clip that you pinch to open it.
You DO NOT need glue here. Notice the ribbon doesn't actually touch anything so it doesn't need to be glued.


Then glue more ribbon and press down on the top part of the clip while you have the alligator clip pinched open. If you don't keep it pinched open, glue will squish through onto the top side of the ribbon that is already glued down and make a mess.


So finish up the clippie by gluing the rest of the ribbon you will need to cover the clip entirely and slide it all the way into the mouth of the alligator clip and cutting off so that the ribbon goes all the way in. Press the two layers of ribbon together.


 You can see some bubbles in my ribbon. To remedy this, I use a few plain alligator clips to hold layers of ribbon together so it dries flat and nice.


I happened to find some scrapbooking 90% off deals at Meijer after St. Patty's Day last year. The little shamrock in this package is perfect to embellish the clip. I used the Fabri-Tac as well to glue down the shamrock to my ribbon covered alligator clip.


Easy, peasy, right?


Just about every time I make some sort of hair doodle, I start with a ribbon covered clip. So it is worth getting good and efficient at making these if you  intend to make lots of hair bows. A wrapped clippy finishes the hair bow nicely as opposed to a plain alligator clip. Because you will be so good at making them, you will bemaking a matching hair pretty for every outfit. I promise soon more blog posts about fabulous bows and other items to mount on the clippies.


BONUS...here is a great way to help keep the clippie from sliding out. Use craft foam. I buy a package of twenty four 4" x 6" sheets for $1.00 at Dollar Tree. Cut a small rectangular piece of coordinating color foam. Mine is about 1/4" wide by 1" long.


Next spread the Fabri-Tac or hot glue in a thin strip along one side of the craft foam rectangle. Open the mouth of the alligator clip, press the craft foam piece onto the bottom.


There. You did it! I don't claim to have invented any of the ideas explained or pictured above. I am simply providing my take on how to make them for those that asked me "how". There you have it.